


How to Build an Android Webview App
Updated Saturday, May 18, 2024, 2 PM
How to Create an Android WebView App for Your Website: A simple Guide
Creating an Android WebView app is a great way to provide your users with a seamless mobile experience, combining the convenience of a mobile app with the content of your website. This guide will walk you through the entire process, from setting up your development environment to deploying your app on the Google Play Store.
1. Setting Up Your Development Environment
Before you start creating your Android WebView app, you need to set up your development environment. Here’s what you’ll need:
- Android Studio: Download and install Android Studio, the official Integrated Development Environment (IDE) for Android development.
- Java Development Kit (JDK): Ensure you have the latest version of the JDK installed on your system. Android Studio will guide you through this if you don’t have it already.
2. Creating a New Project
Once your development environment is set up, you can create a new project in Android Studio:
- Open Android Studio and select Start a new Android Studio project.
- Choose a Template for your project. Select Empty Activity and click Next.
- Configure your project by providing a Name, Package Name, Save location, Language (Java or Kotlin), and Minimum API Level. Click Finish.
3. Adding WebView to Your Project
To display web content, you’ll need to add a WebView component to your project:
- Open
res/layout/activity_main.xml. - Replace the default
TextViewwith aWebViewcomponent:
<?xml version="1.0" encoding="utf-8"?>
<RelativeLayout xmlns:android="http://schemas.android.com/apk/res/android"
    android:layout_width="match_parent"
    android:layout_height="match_parent">

    <WebView
        android:id="@+id/webview"
        android:layout_width="match_parent"
        android:layout_height="match_parent" />

</RelativeLayout>
4. Configuring WebView in Your Activity
Next, you need to configure the WebView in your main activity to load your website:
- Open
src/main/java/com/yourpackage/MainActivity.java. - Add the following code to load your website in the WebView:
import android.os.Bundle;
import android.webkit.WebSettings;
import android.webkit.WebView;
import android.webkit.WebViewClient;
import androidx.appcompat.app.AppCompatActivity;

public class MainActivity extends AppCompatActivity {
    private WebView webView;

    @Override
    protected void onCreate(Bundle savedInstanceState) {
        super.onCreate(savedInstanceState);
        setContentView(R.layout.activity_main);

        webView = findViewById(R.id.webview);
        webView.setWebViewClient(new WebViewClient()); // This ensures links open within the WebView

        WebSettings webSettings = webView.getSettings();
        webSettings.setJavaScriptEnabled(true); // Enable JavaScript

        webView.loadUrl("https://yourwebsite.com"); // Replace with your website's URL
    }

    @Override
    public void onBackPressed() {
        if (webView.canGoBack()) {
            webView.goBack();
        } else {
            super.onBackPressed();
        }
    }
}
5. Adding Permissions
For the WebView to work properly, you need to add internet permissions to your app. Open AndroidManifest.xml and add the following permission:
<manifest xmlns:android="http://schemas.android.com/apk/res/android"
    package="com.yourpackage">

    <uses-permission android:name="android.permission.INTERNET" />

    <application
        android:allowBackup="true"
        android:icon="@mipmap/ic_launcher"
        android:label="@string/app_name"
        android:roundIcon="@mipmap/ic_launcher_round"
        android:supportsRtl="true"
        android:theme="@style/AppTheme">
        <activity android:name=".MainActivity">
            <intent-filter>
                <action android:name="android.intent.action.MAIN" />
                <category android:name="android.intent.category.LAUNCHER" />
            </intent-filter>
        </activity>
    </application>

</manifest>
6. Enhancing Your WebView App
Handling JavaScript Alerts
To handle JavaScript alerts, confirmations, and prompts, override the onJsAlert, onJsConfirm, and onJsPrompt methods:
webView.setWebChromeClient(new WebChromeClient() {
    @Override
    public boolean onJsAlert(WebView view, String url, String message, JsResult result) {
        // Handle the alert
        return super.onJsAlert(view, url, message, result);
    }

    @Override
    public boolean onJsConfirm(WebView view, String url, String message, JsResult result) {
        // Handle the confirmation
        return super.onJsConfirm(view, url, message, result);
    }

    @Override
    public boolean onJsPrompt(WebView view, String url, String message, String defaultValue, JsPromptResult result) {
        // Handle the prompt
        return super.onJsPrompt(view, url, message, defaultValue, result);
    }
});
7. Testing Your App
Before deploying your app, test it on different devices and screen sizes. Make sure that all web content loads correctly and that navigation, functions, and JavaScript interactions work as expected.
8. Create signed APK of App
To generate a signed APK, follow these steps:
- In Android Studio, go to Build > Generate Signed Bundle / APK...
- Select APK and click Next.
- Click Create new... if you don’t have a key store, or select an existing one.
- Fill out the required information to create your key store, then click OK.
- Select your key store and enter your passwords, then click Next.
- Choose the release build type, then click Finish.
Android Studio will generate a signed APK that you can upload to the Google Play Store.
9. Setting Up Your Google Play Store Listing
To publish your app on the Google Play Store, you need to create a developer account and set up your app’s store listing:
- Create a Google Play Developer Account: Visit the Google Play Console and follow the instructions to set up a developer account.
- Create a New App: In the Google Play Console, click Create App and fill out the required information.
- Complete the Store Listing: Provide details such as your app’s title, description, screenshots, and promotional graphics.
- Upload the APK: Navigate to the App releases section and upload your signed APK.
- Set Up Pricing and Distribution: Choose whether your app will be free or paid and select the countries where it will be available.
- Submit for Review: Once you’ve completed all the steps, submit your app for review. Google will review your app and, once approved, it will be available on the Play Store.
10. Marketing Your App
To maximize your app’s success, you need to effectively market it. Here are some strategies:
- Optimize Your Store Listing: Use relevant keywords in your app title and description to improve visibility in search results.
- Social Media Promotion: Leverage social media platforms to promote your app and engage with your audience.
- Content Marketing: Create blog posts, videos, and other content to showcase your app’s features and benefits.
- Email Marketing: Use your email list to announce your app’s launch and encourage downloads.
- App Reviews and Ratings: Encourage users to leave positive reviews and ratings to boost your app’s credibility and visibility.
Conclusion
Creating an Android WebView app for your website is a powerful way to improve user experience, increase engagement, and expand your reach. By following this simple guide, you can successfully develop, test, and deploy a WebView app that seamlessly integrates your website’s content and features. Don’t forget to utilize the marketing strategies to maximize your app’s impact and drive more traffic to your site.
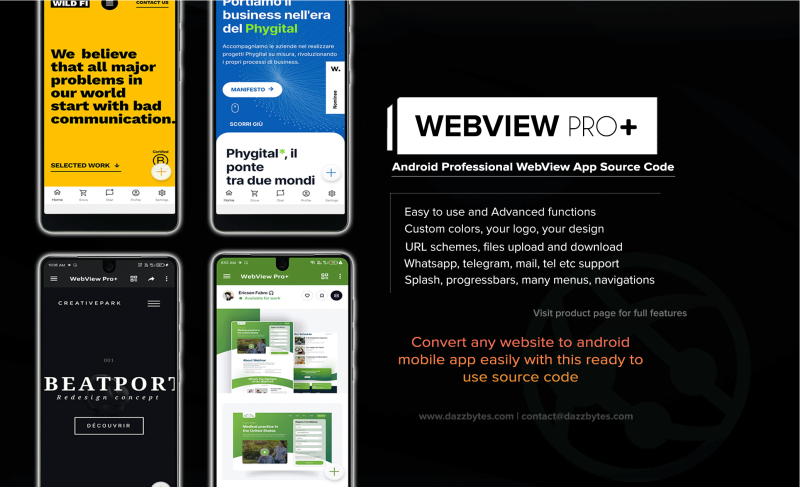
Want build your app faster? Use our readymade webview app source code
If you want easily make app for your website, use our PRO+ WebView source code, it is an advanced webview source code that has all the codes already written, and it supports file upload, download, notifications, themes and different type of menus etc.
You only need import our source code to android studio and just set your website link, app color, app name etc. With PRO+ webview source code, you can build app less than 1 hour!
 Get Pro+ WebView Source code >
It’s designed to simplify the development process while providing robust features and customization options.


No comments yet