


The $2 Fix: Reviving Dead Electronics by Replacing Capacitors
Updated Friday, February 6, 2026, 3 AM
Why Your Electronics Stop Working
Most modern electronics are designed to be discarded, but many failures aren't caused by a fried processor or a broken screen. Instead, a tiny, inexpensive component called a capacitor is often the culprit. Capacitors are like small batteries that store and release energy to stabilize voltage. Over time, heat and wear cause them to fail. When they do, your device might flicker, make a buzzing sound, or refuse to turn on entirely.
Identifying the Bulge
Before you toss your monitor or game console in the trash, open it up and look at the power board. You are looking for 'electrolytic' capacitors—they look like small metal cans. A healthy capacitor has a perfectly flat top. A failed one will usually show one of two signs: a bulging, domed top or a crusty, brown leak at the base. If you see either, you've found the problem. This is a common issue in power supplies where heat is constant.
The Essential Tool Kit
To perform this repair, you don't need an engineering degree, but you do need a few basic tools:
- Soldering Iron: A basic 40W iron is sufficient for most hobbyist work.
- Solder and Flux: Use 60/40 leaded solder for easier flow if your local laws allow, or high-quality lead-free solder.
- Desoldering Pump: Also known as a 'solder sucker,' this removes the old solder so you can pull the part out.
- Replacement Capacitors: Match the voltage (V) and capacitance (uF) exactly, or use a slightly higher voltage rating if the original isn't available.
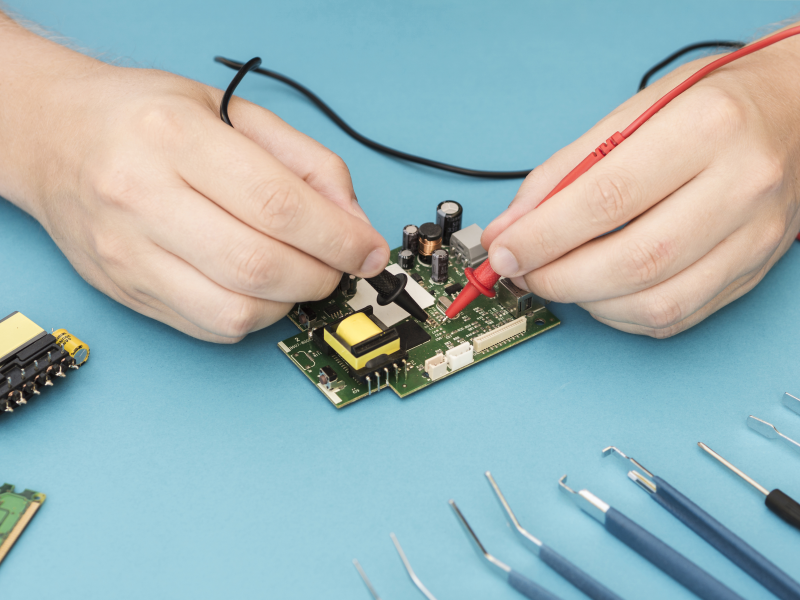
Step-By-Step Repair
First, ensure the device has been unplugged for at least 30 minutes to allow any residual charge to dissipate. Once inside, locate the bad capacitor and flip the board over to find its solder joints. Apply a small amount of fresh solder to the joints; this helps the old, crusty solder melt faster.
Heat the joint and use your desoldering pump to clear the hole. Once both legs are free, pull the old capacitor out. When installing the new one, polarity is critical. Electrolytic capacitors have a stripe on one side marking the negative lead. Match this stripe to the marking on the circuit board. If you put it in backward, it will pop when you turn the power on.
Solder the new leads in place, trim the excess wire with snips, and reassemble your device. In most cases, that $2 part just saved you from a $300 replacement bill.
The Environmental Impact
Repairing your own gear is the ultimate form of recycling. E-waste is a massive global problem, and often, the only difference between a 'broken' device and a working one is ten minutes of soldering. By mastering this simple skill, you extend the life of your tech and keep heavy metals out of landfills.
Warning!: Power supplies can store dangerous voltages. If you are not confident, do not open mains-powered devices


No comments yet